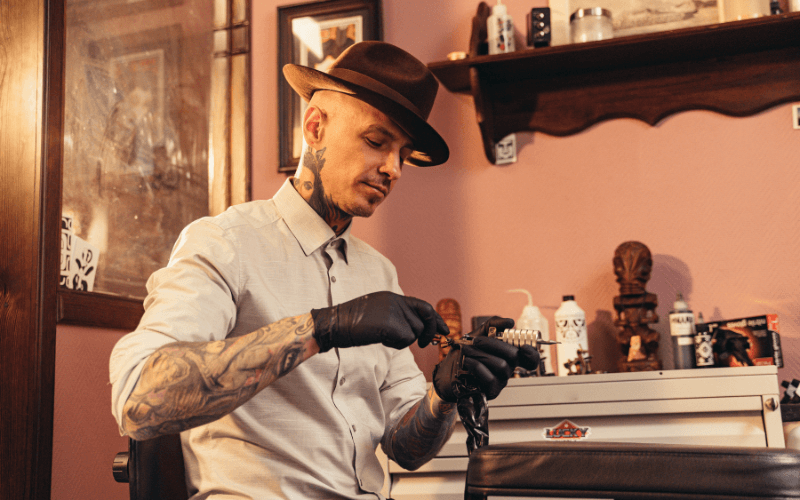
5 Steps to resemble a tattoo gun for starters: a comprehensive guide. Starting your journey as a tattoo artist is both exciting and daunting. One of the foundational skills you’ll need to master is setting up a tattoo gun correctly. This process ensures that your device operates smoothly, safely, and effectively, which is crucial for delivering quality tattoos and protecting the health of both the artist and the client.
Understanding the Parts of a Tattoo Equipment
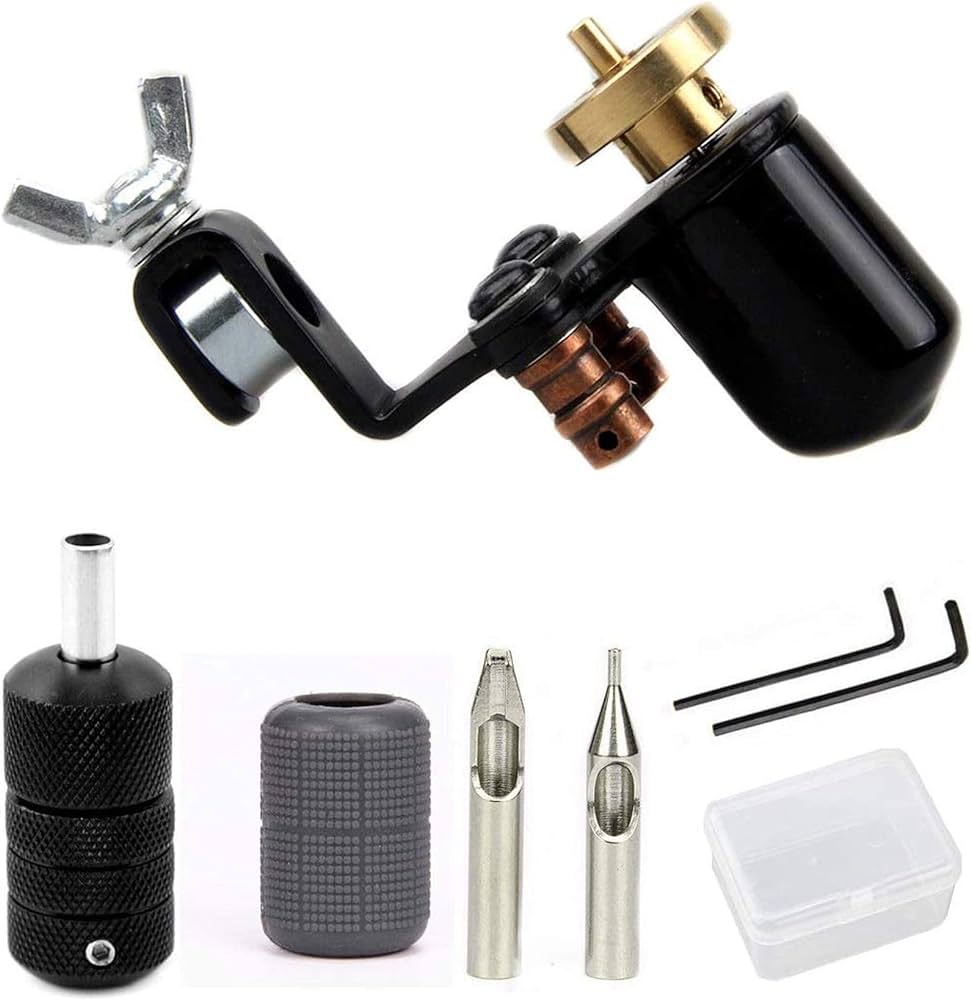
Before diving into the setup process, it’s essential to familiarize yourself with the main components of a tattoo machine and their functions.
Main Components and Functions

Frame
The frame is the backbone of the tattoo equipments, holding all other components in place. Made from materials like brass, aluminum, or steel, the frame’s design can affect the machine’s weight and balance.
Needle
Needles come in various configurations and are selected based on the type of tattoo work, such as lining or shading. Properly inserting and securing the needle is critical for safe and effective tattooing.
Tube
The tube houses the needle and provides a pathway for ink to travel. Tubes can be either disposable or reusable, with the latter requiring thorough sterilization.
Grip
The grip is where the artist holds the tattoo gun. Adjustable grips allow for comfort and stability, reducing hand fatigue during long tattoo sessions.
Power Supply
The power supply controls the voltage running to the tattoo gun, affecting its performance. Using the correct voltage settings is crucial for different tattooing styles.
Foot Pedal
The foot pedal acts as an on/off switch for the tattoo gun, allowing the artist to control the machine hands-free.
Clip Cord
The clip cord connects the tattoo gun to the power supply, delivering the necessary electricity to operate the machine.
Step 1: Safety Precautions
Safety should always be your top priority when working with tattoo gun. Proper sanitization and workspace preparation are essential steps.

Sanitization
Importance of Sterilizing All Machine
Sterilizing your device helps prevent infections and ensures a safe tattooing process. Always use sterilized tools and maintain a clean environment.
Methods for Sterilizing Tattoo Gun
Use an autoclave to sterilize reusable equipment. Alternatively, disposable items should be used and discarded after each session. Additionally, disinfect your workspace with hospital-grade cleaners.
Workspace Preparation
Make a Clean and Organized Workspace
Arrange your workspace to minimize clutter and contamination risks. Keep all tools within easy reach but separate clean and dirty areas.
Using Disposable Materials Where Possible
Utilize disposable gloves, grips, and covers to further reduce the risk of cross-contamination.
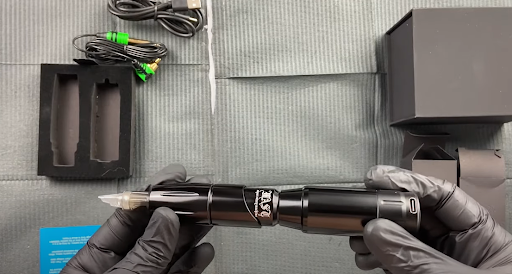
Step 2: Tattoo Gun Setup
With a clean and organized workspace, you can now begin assembling your tattoo machine.
Attaching the Needle and Tube
Instruction for Inserting the Needle into the Tube:
- Wear disposable gloves.
- Insert the needle into the tube, ensuring it moves freely.
- Secure the needle in place using the designated components on your specific tattoo gun model.
Ensuring the Needle is Secured and Aligned Properly
Check that the needle is properly aligned and secured. An improperly aligned needle can cause inconsistent lines and skin damage.
Connecting the Grip
How to Attach and Adjust the Grip for Comfort and Stability
Attach the grip to the tattoo gun frame and adjust it to fit comfortably in your hand. A secure grip helps maintain control during the tattooing process.
Step 3: Power Supply Setup
Now that your tattoo gun is assembled, you need to set up the power supply.
Connecting the Power Supply
Instructions for Connecting the Power Supply to the Tattoo Machine
- Connect the clip cord to the tattoo device.
- Plug the clip cord into the power supply.
- Ensure all connections are secure and free from damage.
Importance of Using the Correct Voltage Settings
Set the voltage according to the type of tattooing you’ll be doing. Lower voltages are typically used for lining, while higher voltages are used for shading.
Using the Foot Pedal
How to Connect and Operate the Foot Pedal
Connect the foot pedal to the power supply. Pressing the foot pedal will activate the tattoo gun, allowing you to control the machine hands-free.
Tips for Controlling the Tattoo Gun with the Foot Pedal
Practice using the foot pedal to develop a smooth and consistent operation. This control is crucial for maintaining steady lines and shading.
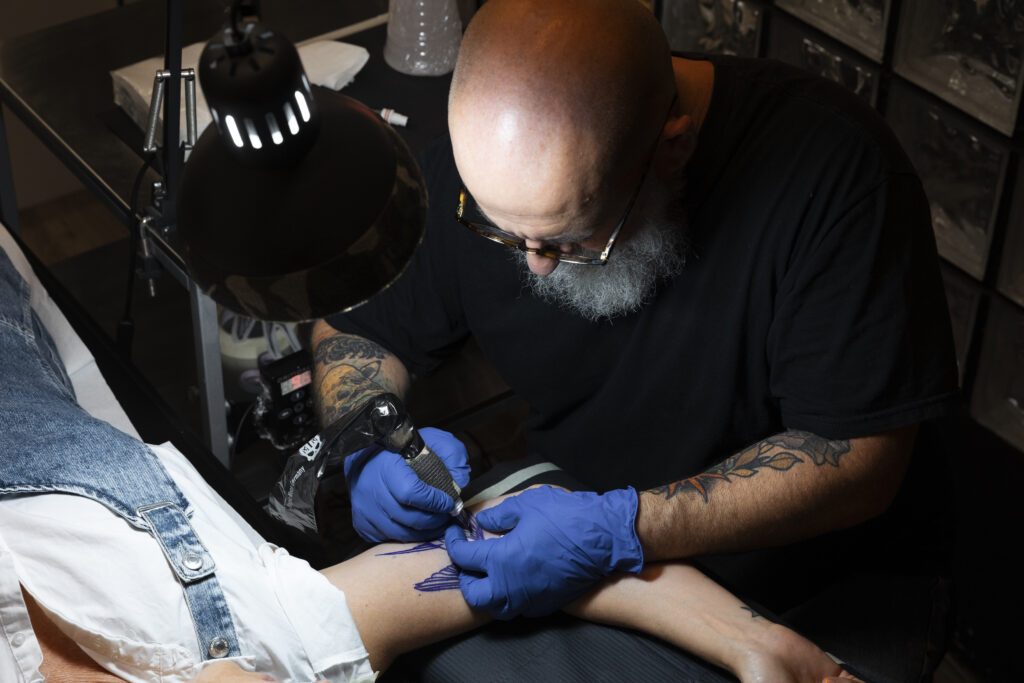
Step 4: Adjusting the Tattoo Equipment
Fine-tuning your tattoo gun ensures it operates efficiently and safely.
Adjusting Needle Depth
How to Set the Correct Needle Depth for Different Types of Tattoos
Adjust the needle depth based on the type of tattoo work. Lining generally requires a shallower depth than shading.
Importance of Consistent Needle Depth for Safety and Precision
Consistent needle depth is crucial for achieving uniform tattoos and preventing skin damage.
Adjusting the Voltage
How to Set the Appropriate Voltage for Different Tattooing Styles
Experiment with different voltage settings to find the right balance between power and control for your specific style.
Tips for Finding the Right Balance Between Power and Control
Start with recommended settings for your tattoo gun and make small adjustments as needed.
Step 5: Testing the Setup
Before working on real skin, test your setup on practice materials.
Running a Test
How to Test the Tattoo Gun on Practice Skin
Run the tattoo gun on synthetic practice skin to ensure everything is working correctly. Check for consistent needle movement and ink flow.
Troubleshooting Common Issues
Common Problems and Their Solutions
Identify common issues such as inconsistent power, ink flow problems, and needle misalignment. Refer to your tattoo gun’s manual for specific troubleshooting steps.
Importance of Regular Maintenance and Adjustments
Regularly maintain and adjust your tattoo gun to ensure optimal performance and longevity.
Tips for Starters
Starting out as a tattoo artist requires patience and practice. Here are some valuable tips to help you get started.
Practice on Synthetic Skin
Benefits of Practicing on Synthetic Skin Before Tattooing Real Skin
Practicing on synthetic skin allows you to develop your skills without the risks associated with tattooing real skin.
Learning Proper Techniques
Resources and Tips for Mastering Basic Tattooing Techniques
Take advantage of online resources, workshops, and apprenticeships to learn proper tattooing techniques. Continuous learning is key to becoming a successful tattoo artist.
Safety and Hygiene
Best Practices for Maintaining Hygiene During the Tattooing Process
Always prioritize hygiene by using sterilized equipment, wearing disposable gloves, and maintaining a clean workspace.
FAQs
What are the essential steps to assemble a tattoo gun for beginners?
- Understand the parts of the tattoo gun.
- Follow safety precautions.
- Assemble the tattoo gun correctly.
- Assemble the power supply.
- Adjust the tattoo gun for optimal performance.
- Test before use.
How do I adjust the needle depth on a tattoo machine?
- Loosen the tube vise.
- Adjust the needle depth to the desired setting.
- Tighten the tube vise to secure the needle in place.
What voltage should I use for my machine?
- Start with lower voltages for lining (6-8 volts).
- Use higher voltages for shading (8-10 volts).
- Adjust as needed based on your specific machine and style.
How can I ensure my assembling is safe and hygienic?
- Sterilize all gun parts before use.
- Maintain a clean and organized workspace.
- Use disposable materials where possible.
Conclusion
Assemble a tattoo gun for beginners involves understanding its parts, following safety precautions, assembling the machine correctly, and making necessary adjustments. With practice and attention to detail, you’ll be well on your way to becoming a skilled tattoo artist. Remember, the key to success is continuous learning and prioritizing safety at all times. Happy tattooing!
Thanks for the detailed guide! Do you have any tips on organizing the setup area to maximize efficiency?
Great steps! What’s the best way to ensure all my equipment is properly sterilized before starting a tattoo?
Really helpful article! Can you recommend any specific brands for beginner-friendly equipment that’s reliable?
Appreciate the clear instructions! How often should I check my power supply to make sure it’s functioning correctly?
This guide is fantastic! Any advice on how to keep the workspace clutter-free during a busy tattoo session?
Thanks for sharing! Do you have a checklist for the equipment setup process to ensure I don’t miss anything important?
This article is a lifesaver! I was just about to set up my first tattoo gun, but now I’m glad I stumbled upon these tips. Thanks for sharing this valuable information!
Having been in the tattooing scene for a while, I can attest to the importance of proper tattoo gun setup. These insights are spot on for ensuring quality work. Can’t wait to explore more of your content!
This article is a gem! I never realized there were so many factors to consider when setting up a tattoo gun. Thanks for shedding light on this crucial aspect of tattooing!
Having spent a good chunk of time in the tattooing world, I couldn’t agree more with the importance of proper tattoo gun setup. These techniques are absolute must-knows for anyone serious about delivering top-tier tattoos.