Steps to clean a tattoo Machine. Maintaining a clean tattoo machine is crucial for the health and safety of both tattoo artists and their clients. Proper cleaning and sterilization prevent infections, ensure the longevity of your equipment, and uphold the professional standards of the tattooing industry. This guide will walk you through the essential steps to clean a tattoo machine effectively, ensuring you can perform your art with confidence and care.
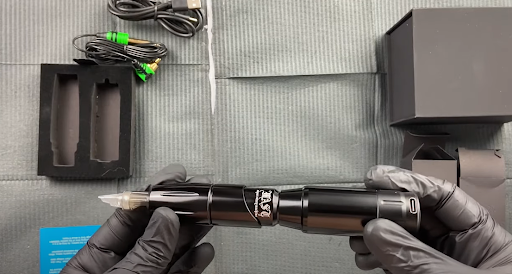
Understanding the Parts of a Tattoo Machine
Main Components
A tattoo machine consists of several key components, each playing a vital role in the tattooing process:
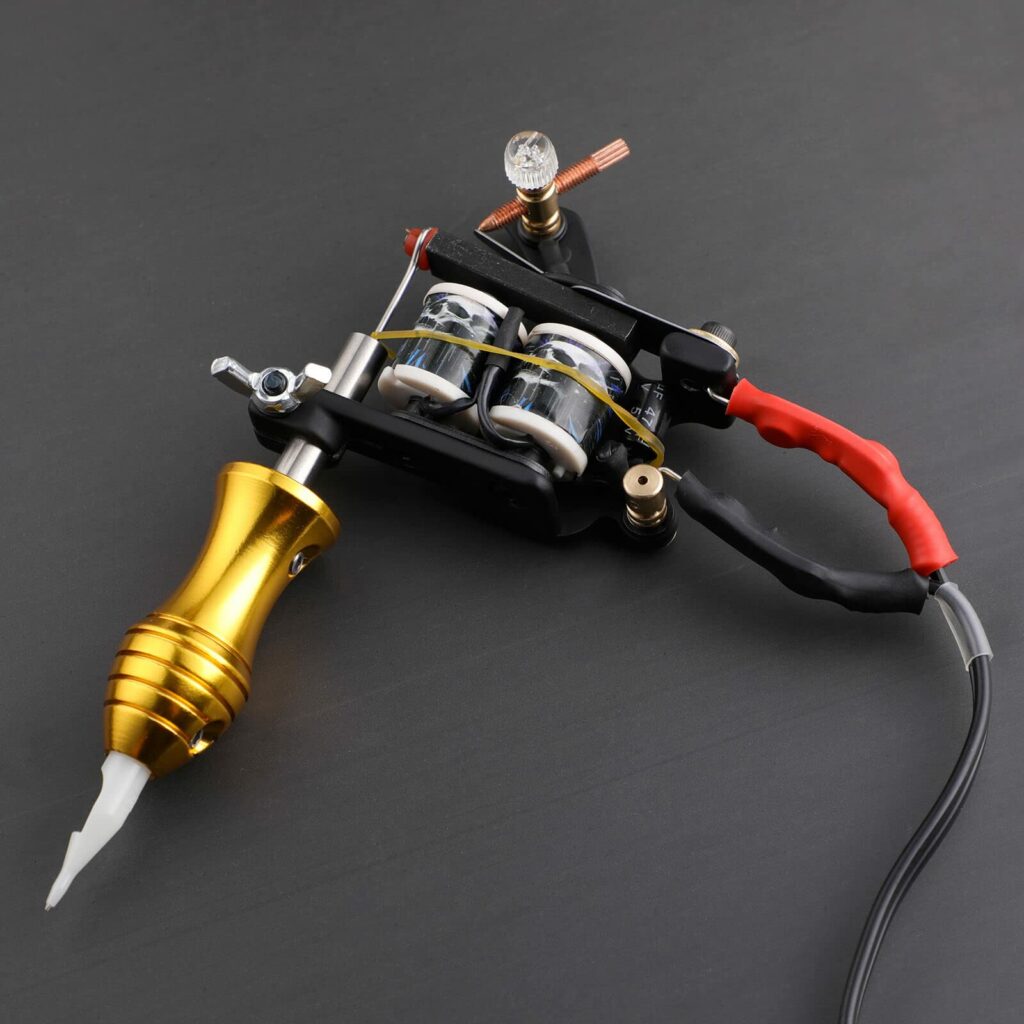
- Frame: The structural body that holds all parts together.
- Needle: The part that punctures the skin to deposit ink.
- Tube: Houses the needle and guides it during the tattoo process.
- Grip: Provides a comfortable hold for the artist.
- Power Supply: Supplies the necessary electrical current.
- Foot Pedal: Controls the power flow from the power supply.
- Clip Cord: Connects the power supply to the tattoo machine.
Functions of Each Part
- Frame: Provides stability and support.
- Needle: Transfers ink into the skin.
- Tube: Ensures the needle moves smoothly.
- Grip: Enhances control and precision.
- Power Supply: Regulates the machine’s performance.
- Foot Pedal: Allows hands-free operation.
- Clip Cord: Facilitates power transfer.
Step 1: Prepare for Cleaning
Safety Precautions
Before you start the cleaning process, it is crucial to follow these safety measures to protect yourself and ensure all equipment is properly sanitized:
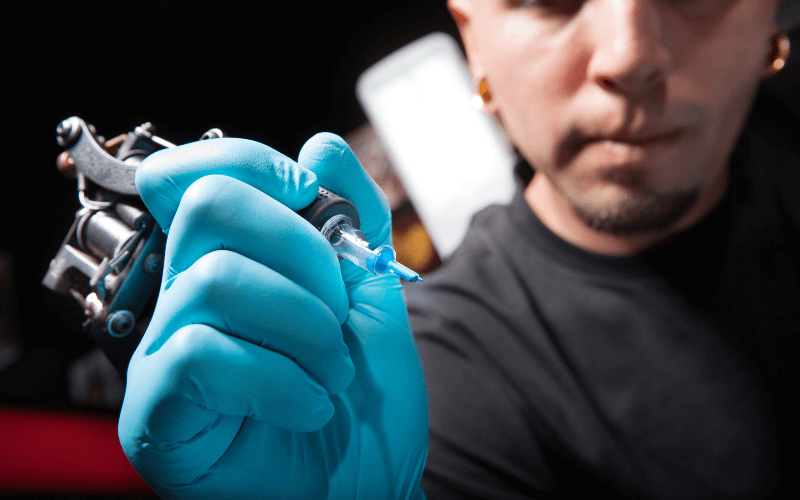
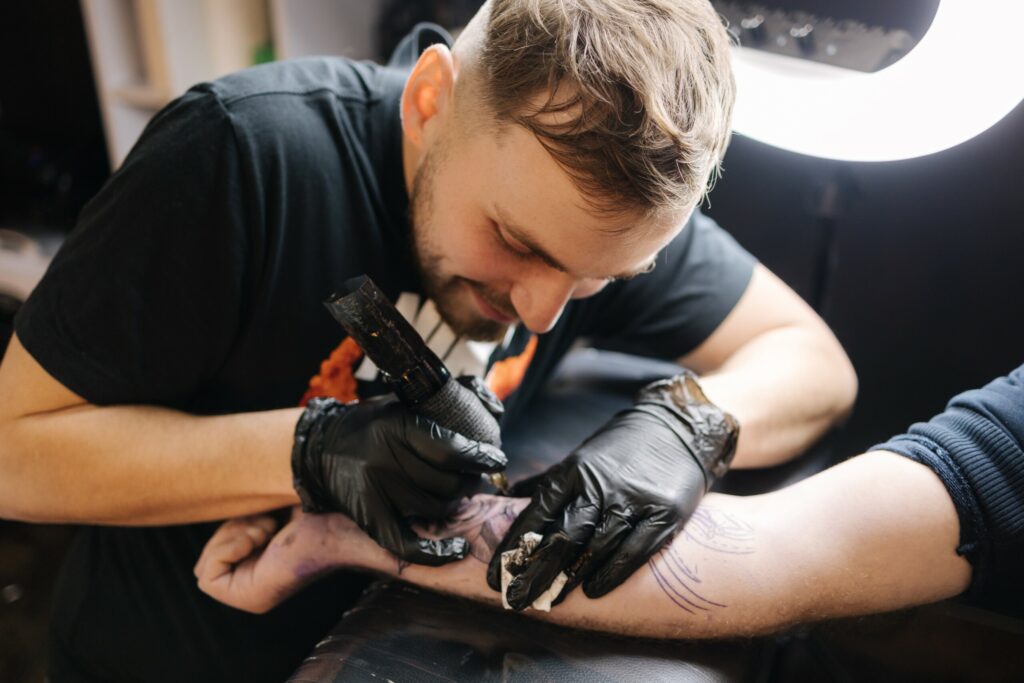
Wear Gloves: Always wear disposable gloves to protect yourself from exposure to bloodborne pathogens and other contaminants.
Use Disinfectants: Apply suitable disinfectants to sanitize all surfaces and tools before and after cleaning to maintain a sterile environment.
Disassemble the Machine
Power Off and Unplug: Ensure the tattoo machine is turned off and unplugged from the power source to prevent any accidental activation.
Remove the Needle and Tube: Carefully detach the needle from the tube. Handle the needle with caution to avoid injury or contamination.
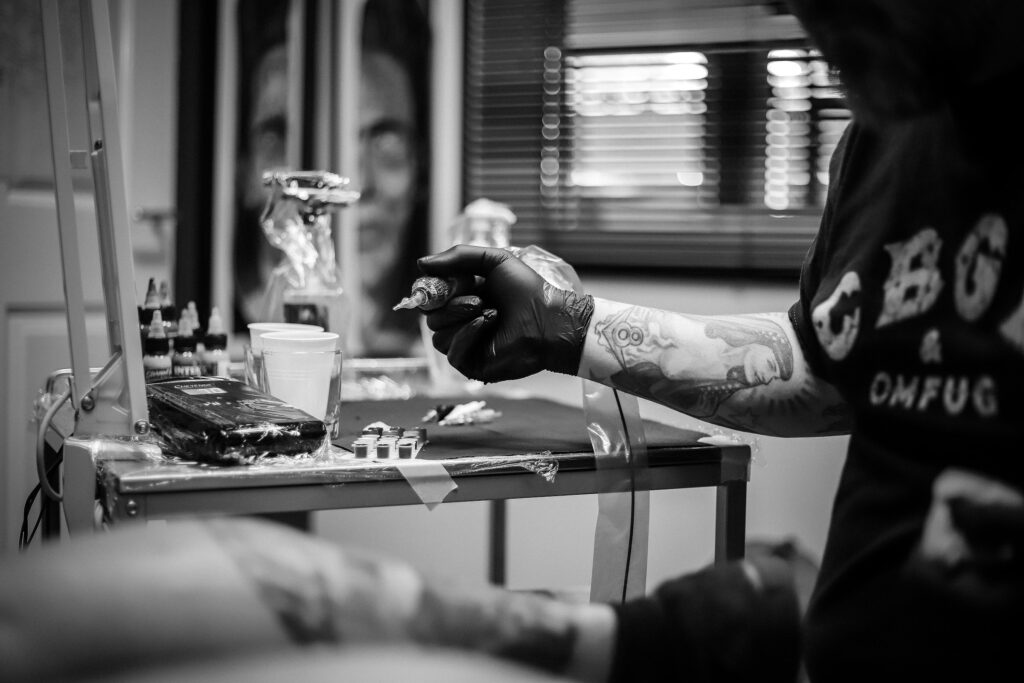
Separate the Grip: Unscrew the grip from the frame of the tattoo machine. This part can often hold residual ink and needs thorough cleaning.
Disconnect the Clip Cord: Gently untangle and disconnect the clip cord from the machine. Set it aside for separate cleaning later.
Step 2: Clean the Components
Clean the Frame and Grip
- Disinfectant Wipes: Use disinfectant wipes to thoroughly clean the frame and grip of the tattoo machine. Make sure to wipe all surfaces to remove any visible ink and potential contaminants.
- Brushes: Utilize small brushes, such as toothbrushes or dedicated tattoo cleaning brushes, to reach into crevices and remove any ink residue or debris that may be lodged in hard-to-reach areas.
Clean the Needle and Tube
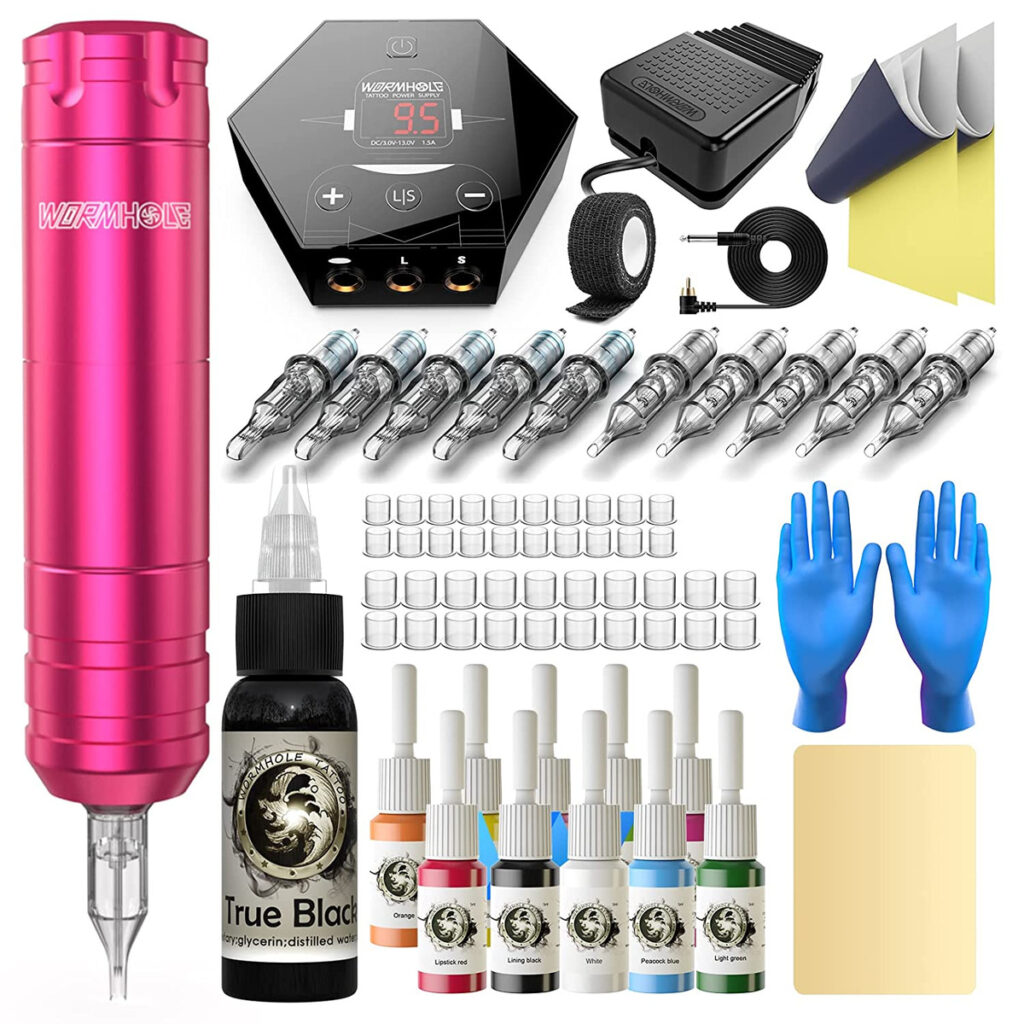
- Soak in Disinfectant: Submerge the needle and tube in a disinfectant solution specifically designed for tattoo equipment. Allow them to soak for the recommended duration to ensure thorough disinfection.
- Brush and Rinse: After soaking, use a brush to scrub off any remaining debris. Once scrubbed, rinse the needle and tube with sterile water to remove any disinfectant residue.
Use an Ultrasonic Cleaner
- Fill with Cleaning Solution: Pour an appropriate ultrasonic cleaning solution into the ultrasonic cleaner, following the manufacturer’s instructions for the correct mixture and level.
- Run the Cleaner: Place the disassembled parts of the tattoo machine into the ultrasonic cleaner. Run the machine for the recommended duration, typically 5-10 minutes, to ensure that all components are deeply cleaned.
Sterilize with an Autoclave
- Load the Autoclave: Place the thoroughly cleaned components into autoclave bags, ensuring they are properly sealed.
- Run a Sterilization Cycle: Load the autoclave bags into the autoclave and run a complete sterilization cycle according to the manufacturer’s instructions. This process typically involves high-pressure steam and will ensure that all components are fully sterilized and safe for use.
Step 3: Reassemble the Tattoo Machine
Ensuring All Parts are Dry
Before beginning the reassembly process, ensure that all components are completely dry. This is crucial to prevent rust formation and avoid contamination.
Reassembly Steps
- Attach the Grip:
- Screw the grip securely back onto the frame of the tattoo machine. Make sure it is tight and properly aligned to avoid any movement during use.
- Insert the Needle:
- Carefully position the needle into the tube. Ensure it is aligned correctly and securely attached to the machine. Double-check that the needle is firmly in place to prevent any shifting during tattooing.
- Connect the Clip Cord:
- Reattach the clip cord to the tattoo machine. Make sure the connection is secure to ensure proper power flow and prevent any interruptions during operation.
Other Maintenance Tips for Beginners
Regular Maintenance Schedule
- Clean After Every Use:
- To maintain hygiene and optimal performance, thoroughly clean your tattoo machine after each use. This helps to prevent the buildup of ink and contaminants.
- Deep Cleanings:
- Perform deep cleanings on a weekly or bi-weekly basis, depending on how frequently you use the machine. This involves disassembling and thoroughly sanitizing all components.
Storage Tips
- Clean and Dry Storage:
- Store your tattoo machine in a clean, dry place to prevent rust and contamination.
- Use Protective Cases:
- Keep the machine in protective cases when not in use to prevent dust accumulation and physical damage.
Common Mistakes to Avoid
- Using Incorrect Cleaning Solutions:
- Avoid harsh chemicals that can damage the machine’s parts. Always use cleaning agents recommended specifically for tattoo equipment.
- Improper Sterilization Techniques:
- Ensure proper autoclaving to eliminate all pathogens. Do not shortcut the sterilization process, as incomplete sterilization poses serious health risks.
FAQs
1. How often should I clean my tattoo machine?
- Clean your tattoo machine after every use and conduct thorough cleanings weekly or bi-weekly.
2. What is the best method for sterilizing tattoo equipment?
- Using an autoclave is the most effective method for sterilizing tattoo equipment.
3. Can I clean my tattoo machine without an autoclave?
- Yes, you can use ultrasonic cleaners and chemical disinfectants, but autoclaving is recommended for complete sterilization.
4. What cleaning solutions are safe for tattoo machines?
- Use medical-grade disinfectants and ultrasonic cleaning solutions specifically designed for tattoo equipment.
Conclusion
Maintaining a clean tattoo machine is vital for delivering safe and high-quality tattoos. By following the steps outlined in this guide, you can ensure your equipment remains in top condition, providing peace of mind for you and your clients. Regular cleaning and proper sterilization are not just best practices—they are essential responsibilities for every tattoo artist. Start adopting these habits today to elevate your practice and protect the well-being of those who trust you with their skin.
Really useful info, thanks! Does anyone have a specific brand of cleaner they swear by for their machines?
Appreciate this straightforward approach! I’m curious, has anyone tried using ultrasonic cleaners? Are they worth the investment?
Thanks for breaking it down so clearly! Does anyone know if there’s a difference in cleaning techniques for coil versus rotary tattoo machines?
Thanks for the clear steps! What’s the best type of disinfectant to use for cleaning a tattoo machine?
Really helpful guide! How often should I be cleaning my tattoo machine if I’m using it daily?
Great article! Is it necessary to completely disassemble the machine for a thorough cleaning every time?
Thanks for sharing! I’m always worried about damaging my machine during cleaning. Any tips on avoiding common mistakes?
Very informative! Can anyone recommend a good ultrasonic cleaner for tattoo machines? Are they worth the investment?
This was super useful! What’s the best way to dry the machine after cleaning to ensure there’s no moisture left?
Awesome guide! Does anyone know if there are any specific parts of the machine that need extra care during cleaning?
Really appreciate the detailed steps. How do you ensure the machine is properly sterilized without damaging it?